The Abbe Refractometer
Theory
The refractive index is the ratio of the sine of the angle of incidence of a ray of light in vacuum to the sine of the angle of refraction in the medium, which is equal to the ratio of the wave velocity of light in vacuum to the wave velocity in the medium. The angle are measured relative to the normal of the interface between the two media. The actual measurement is based on the determination of the critical angle of reflection. The critical angle is defined as the angle at which the angle of refraction is 90o. Any incident angle larger than the critical angle will be totally reflected (at the same angle as the incident angle). For practical purposes, one usually uses air (at 1 atm) as reference medium and not vacuum. The refractive index of air is given with 1.00027. Many solids display very higher refractive indices: diamond (2.42), cubic zirconia (2.15), zinc selenide (2.67), and flint glass (1.62) for λ=589 nm. For wavelengths in the infrared range, refractive indices can be considerably higher compared to the visible range. Germanium is transparent in the wavelength region from 700 to 5000 cm-1 (2-14 μm) and has a refractive index of about 4, making it an important material for infrared optics.1
The refractive index is a physical property like a melting point, a boiling point, or density of a compound. It is very sensitive to the purity of the sample. It depends on the wavelength of the light it is acquired at and the temperature. Most instruments use the yellow sodium line (λ=589.3 nm, which is the average of the two emission lines at 589.0 nm and 589.6 nm) for the measurement, which is indicated by the letter "D" as a subscript. The entry 1 and entry 3 in the table below illustrates the change of refractive index with the change of the wavelength.
The temperature has a major effect on the actual reading as can be seen in the formula below. Generally, the refractive index decreases with increasing temperature. The medium is less dense, the refraction of the light is usually reduced. Most refractive indices in the literature are reported at 20 oC or 25 oC. Thus, it is important to record the temperature at which the refractive index was acquired as well in order to take the temperature effect into account afterwards.
| Compound | Refractive Index | Density | Temperature | Wavelength |
| Ethanol | 1.3593 | 0.78522 g/cm3 | 25 oC | 589.3 nm |
| 1.3636 | 0.79788 g/cm3 | 15 oC | 589.3 nm | |
| 1.3733 | 25 oC | 488.0 nm | ||
| Water | 1.3330 | 20 oC | 589.3 nm |
Measurement
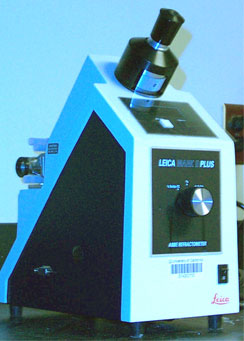
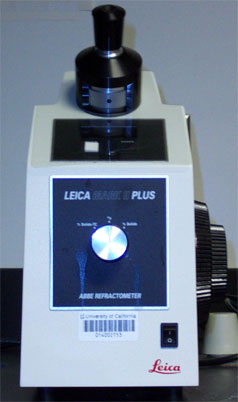
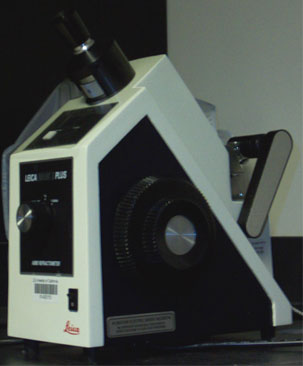
The pictures above show the actual refractometer that will be used in the experiment.
1. Applying the Sample
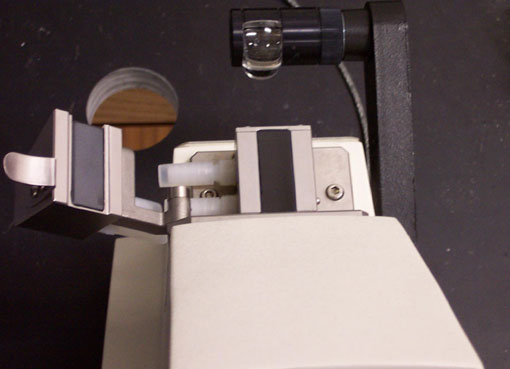
Top View
Pull the lever connected to the light downwards as shown in the picture. Then swing the prism open to the left (make sure not to scratch it!). At this point it would be wise to double check the area on which the sample is applied to in order to ensure that it is clean (If not, use a Kim wipe and acetone to clean it. Allow the acetone to evaporate completely). On the window that has been exposed upon swinging the prism open (the window directly in the center of the picture on the right), apply the sample. Make sure the sample covers the ENTIRE window with a thin film. Partial application will result in an incorrect refractometer reading and difficulties to observe an 'edge'.
2. Measuring the Refractive Index
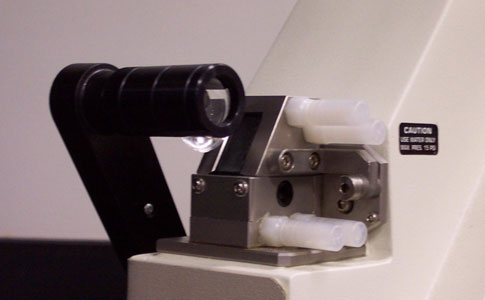
Close the hinged prism and return the light source to its original position (all the way down!).
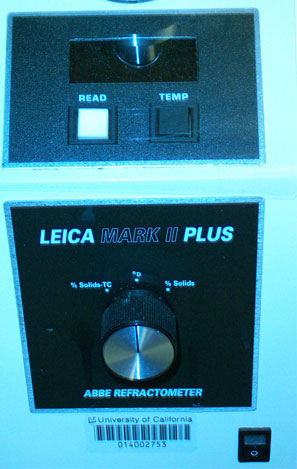
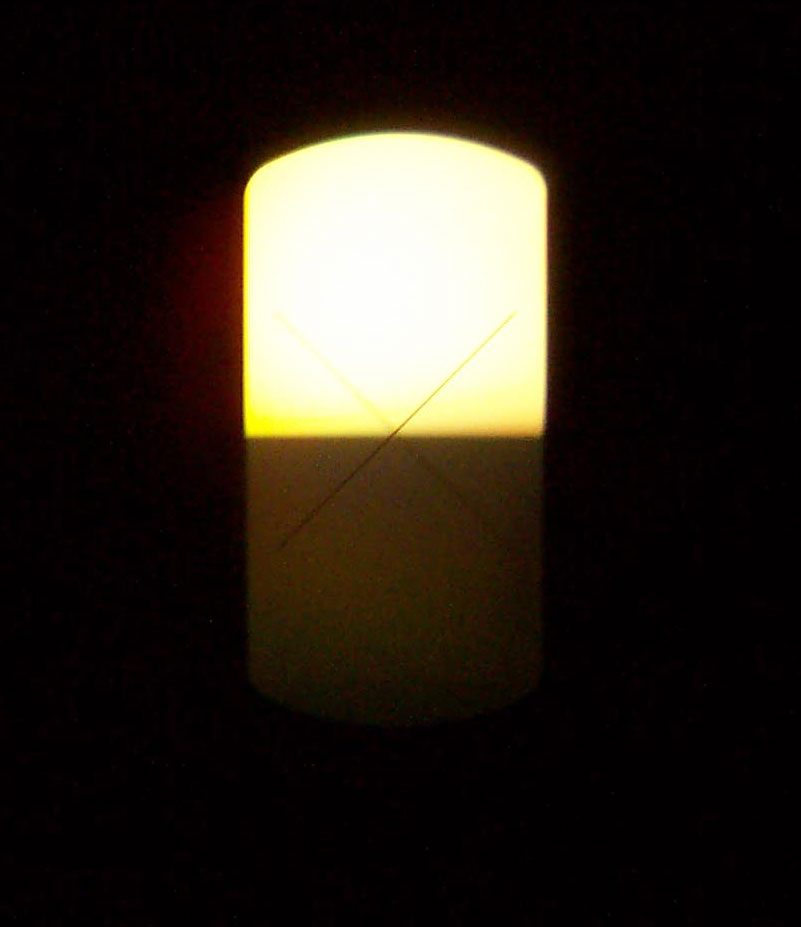
Locate the power switch on the right lower side in the front of the instrument. Turn the dial to nD (middle). Place the lamp in the back on top of the prism. Now locate the eyepiece at the top of the instrument. You should see crosshairs with a shadow covering the lower part of the viewing range.